
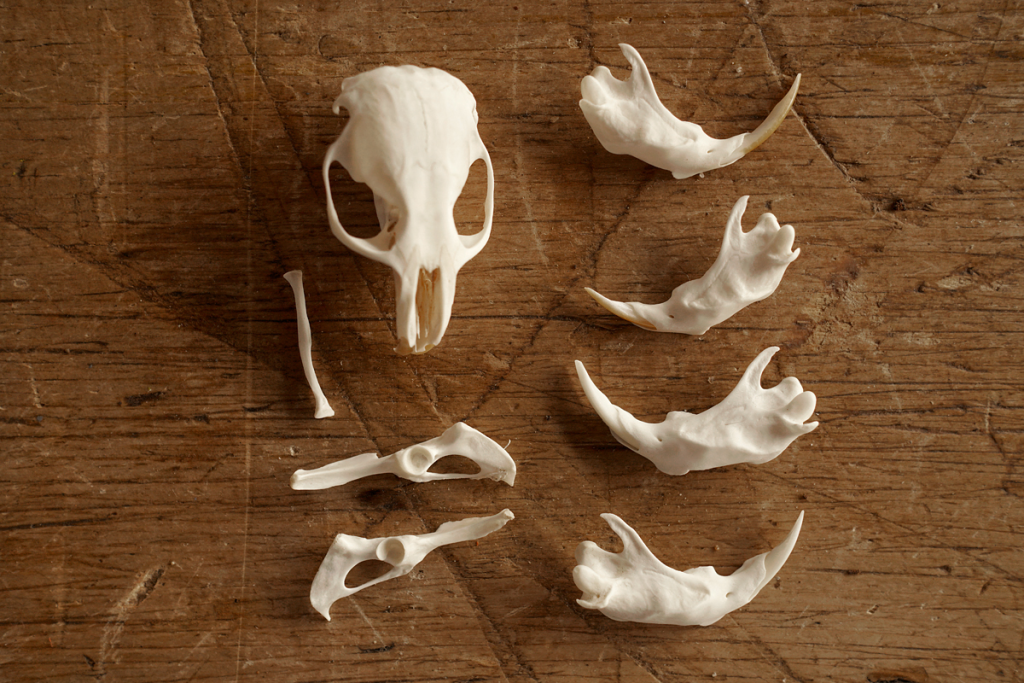
Skull cleaning combines many effective steps to ensure they are properly cleaned, sanitised, and preserved. In this article, you’ll learn the best skull cleaning techniques, whether for educational purposes, decorating, or scientific study. Let’s start learning by understanding the methods.
1. Preparation and Safety Measures
Safety and preparation are crucial before starting the skull cleaning procedure. Start by assembling the required supplies, which usually include gloves, soft-bristled brushes, dental picks, and suitable cleaning agents such as bleach or hydrogen peroxide.
Working in a well-ventilated space is essential to prevent the inhalation of any dangerous chemical fumes. Wearing masks and protective eyewear is advised to shield yourself from fumes and splashes, depending on the strength of the solvents you want to use.
This improves the efficiency of your cleaning efforts while also ensuring your safety.
2. Basic Cleaning Methods
The first cleaning method is simple yet essential to eliminate surface dirt. To start, rinse the skull with water to remove any loose dirt or debris.
This is an essential step because it gets the surface ready for more thorough cleaning. Next, give the skull a gentle scrub with a soft brush. Because fragile bones are easily broken, it’s crucial to avoid applying too much pressure.
Make sure you completely clean the entire surface, paying attention to details and cracks where dirt can collect. This simple cleaning will set the stage for later, more involved techniques.
3. Advanced Cleaning Methods
Advanced techniques can be used for deeper sanitization and whitening after basic cleaning is completed. Because it can whiten bones and has antiseptic qualities, hydrogen peroxide is often used. The cranium can be quickly treated with a 3% hydrogen peroxide solution, which should be properly rinsed after a few hours.
If you want a stronger solution, you can use household bleach, but you must dilute it properly (usually one part bleach to ten parts water) to avoid discolouration.
Boiling water is another technique, but it should be used carefully. While boiling water may help to remove tenacious organic matter, it also poses a risk of harming fragile bones, particularly those of smaller animals.
As a result, it is best to keep a tight eye on the procedure and remove the cranium as soon as the tissue is sufficiently loosened.
4. Tissue and Flesh Removal
One of the most important steps in cleaning the skull is removing the flesh and tissue. Soak the skull in a degreaser solution—which may be manufactured at home or purchased commercially—to make this easier.
This procedure helps in the dissolution of fatty tissues that can cling tenaciously to the bone. After soaking, carefully remove any leftover tissues using tweezers or a dental pick. At this point, handling the skull carefully is crucial to avoiding harm to the bone structure.
It’s important to be patient because hurrying through this procedure could result in chips or fractures in the skull.
5. Handling Odors and Stains
Odors or stains may remain after washing and tissue removal. Applying activated charcoal or baking soda might be useful in eliminating offensive odors.
Simply sprinkle the paste inside the skull and leave it for a few hours or even overnight to effectively absorb smells.
6. Preservation Techniques
It’s time to think about preservation methods after the skull is clean and clear of stains or smells. If the skull will be on display, it is very crucial to apply a transparent sealer to prevent further damage.
Select a sealer that won’t change the appearance of bones. To preserve their condition, skulls must also be kept out of direct sunlight and in a cool, dry location. Over time, fading, discoloration, and degradation can be avoided with proper storage.